Build & Bundlers
To get started, first install Excalibur through npm (TypeScript typings are best supported in npm):
bash
bash
TypeScript Configuration
In a TypeScript (or modern JavaScript) project, you can reference Excalibur with the ES6 import style syntax:
js
js
or
js
js
To support tree-shaking, you should use named imports:
js
js
Excalibur doesn't do the best optimization to support tree-shaking--likely you'll end up importing everything at the moment but this is slowly getting better.
TSConfig
We have a base recommended tsconfig.json that the TypeScript compiler uses as configuration. In this example we assume all the source is in a ./src/ directory.
json
json
In a module loader system, such as Webpack or Parcel, it will automatically bundle Excalibur. See the webpack example repo or parcel repo
Parcel
Parcel is by far the easiest way to get a bundler up and running with Excalibur. We recommend looking at the template.
Adding an import "regenerator-runtime/runtime"; in your entry file is needed to force Parcel to understand async/await inside Excalibur.
Using npm to install Parcel:
bash
bash
Using npm to install Excalibur and TypeScript:
bash
bash
Configure your tsconfig.json:
bash
bash
The suggested file structure is as follows:
Create your game script:
typescript
typescript
Include the TypeScript file in your html:
html
html
Build and run with Parcel!
bash
bash
Webpack
Webpack is the battleship solution, and if you need a lot of control over your build process, this might be the way to go.
Configuring Webpack is not for the faint of heart, we recommend thoroughly reading webpack's documentation on how to understand and configure webpack.
Our Webpack template is a good starting point.
Deno
Deno is a runtime for JavaScript and TypeScript and much more than a bundler, but we put this section here since you'll be doing a lot of bundling :).
For Excalibur to work in a Deno environment, use a Content Delivery Network (CDN) for making Node.js packages compatible with Deno. Two popular ones are esm.sh and skypack.dev.
To keep it simple, we use esm.sh in the following examples, but feel free to make your own choice - at the time of writing the procedure for esm.sh and skypack.dev is nearly identical (for a difference, see the section Types and IntelliSense).
Importing within an HTML file
Sometimes, you just want to start hacking. You can do so by using Deno to get a bundled version of Excalibur and directly applying the module to your HTML.
Either esm.sh or skypack.dev should generate a bundle that works:
bash
bash
Learn more about the deno bundle command in the official docs.
Using as a native module works in Chrome without any extras:
html
html
Learn more about the type="module" attribute on MDN.
The drawback to this method is that it doesn't give you type annotations in your IDE, like the following method.
Importing into a JavaScript or TypeScript File
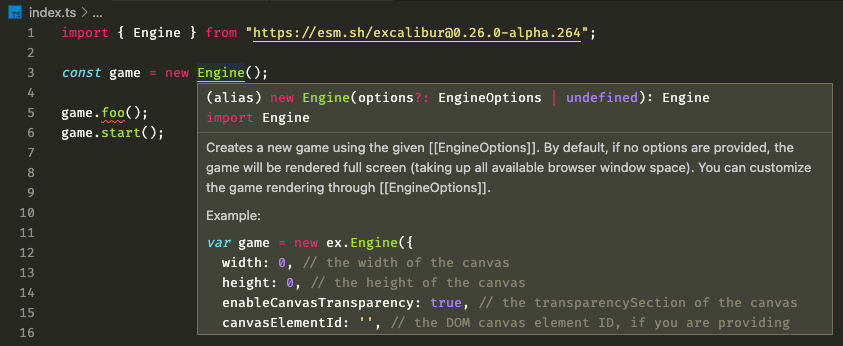
We have tested the following examples with version 0.26.0-alpha.264 of the excalibur package. We recommend you run at least that version for this to work. You can get the latest excalibur version on npm.
More likely, you will want to import Excalibur into a JavaScript or TypeScript file.
Since it goes very well with Deno, we use TypeScript in the following examples. We will have to set up our TypeScript compiler and pick our import syntax before we can make our bundle.
A custom tsconfig.json must be used with strict turned off and a few DOM libraries added:
json
json
After that, Excalibur can be imported. This can be done in one of two ways:
Recommended: Named Import
typescript
typescript
Alternative: Namespace Import
typescript
typescript
Aside - Why do we recommend named imports over namespace imports?
There are two main reasons:
-
We find named imports more expressive and explicit than the wildcard
*syntax. It's easier for you and your collaborators to see what parts of the module are actually being used when they are all listed in the import statement. -
They can help with tree shaking, as explained in this relatively beginner-friendly developers.google tutorial.
Both approaches work. You may have reasons for using namespace imports. We encourage you to research your options.
Bundling and Applying
Set up your tsconfig.json and your index.ts as described in the Importing into a JavaScript or TypeScript File section above. Then Deno should successfully bundle:
bash
bash
Learn more about the deno bundle command in the official Deno docs.
You can then apply it in your index.html with a regular script tag:
html
html
Types and IntelliSense
To enable type annotations and IntelliSense in a Deno environment, you might need to install a special extension in your IDE, such as this one for VSCode: Deno extension by denoland.
Make sure to read the instructions of the extension. you might also need to install the Deno CLI and later initialize the extension in your IDE workspace.
It may take a few seconds for IntelliSense to start working. Deno is resolving the import URLs and downloading the necessary files in the background.
If you're using skypack.dev, you might also need to add the ?dts query parameter to the package name. your import should read something like this:
typescript
typescript
Or, if you want to use a specific version:
typescript
typescript
Read more about TypeScript declarations in the official skypack.dev docs.